How to Use the New “Sessions” Feature on the Acuity Laser Touch Panel Display Posted in: Product Tutorials, Updates
Last Updated: May 22, 2024
Here is a how-to tutorial for our new feature for our Acuity Laser Touch Panel Display that we call Sessions. The Acuity Touch Panel Display has always allowed for monitoring of real time measurements, but many applications are less concerned with each individual point on an object, and are more concerned with mean size or thickness, or perhaps the maximum or minimum measurement of an object.
That’s where Sessions comes in. Sessions allows the Touch Panel to detect when an object enters the sensor’s range and displays the average, maximum, minimum, and mode of the measurements after it passes by.
Let’s walk through how it works:
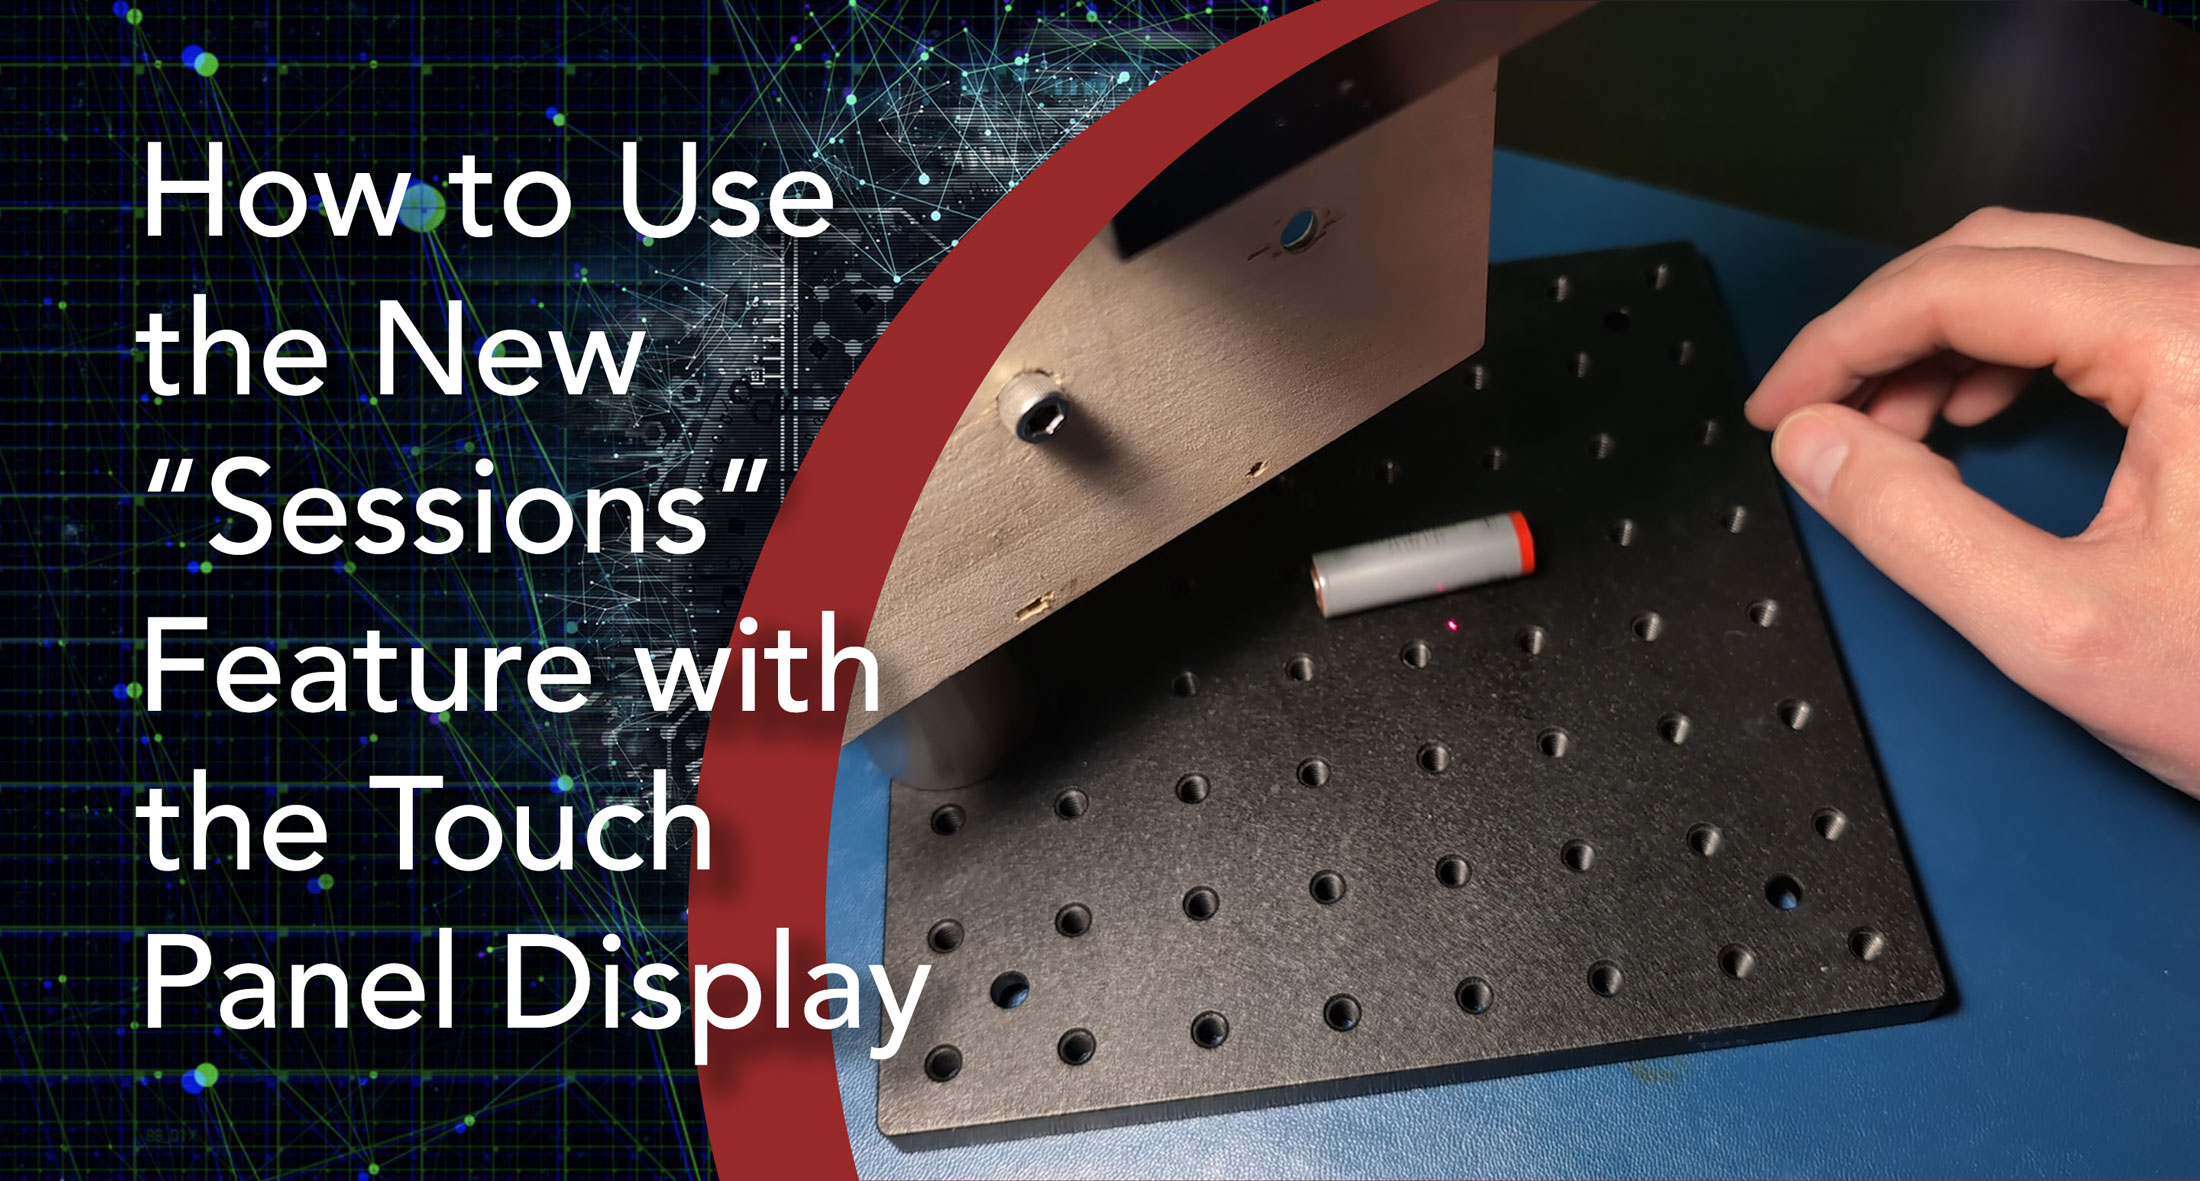
First, you connect the sensor to your Touch Panel.
You’ll want to calibrate your sensor first, so go to the measurement screen and tap the start button to start the measurements.
In this case we are using an AR 700-400.
In order to calibrate the output, you’ll need an object of known size.
Here I’m using a Mitutoyo one inch gauge block.
I place it in the sensor’s range and it gives the result.
Pull it away and the measurement goes back.
The measurement isn’t exactly one inch.
That’s why we’re calibrating. Calibration corrects for alignment errors.
To calibrate, tap the calibration button in the lower right.
To use known distances or gauge blocks to calibrate tap “guided.”
In this case, I want the surface of the board to be zero point, so I will keep the surface clear and enter zero as the distance.
Next, I will put the gauge block underneath and enter its value.
And there we go. This setup is now calibrated.
Now stop the measurements and go to Application Settings.
To use Sessions, tap the “Measure in Sessions” box.
The threshold is the measurement level that triggers the start and end of each Session.
You can adjust this by tapping on the threshold field.
By default, each Session will start whenever anything comes in range of the sensor, and stop whenever it leaves the sensor’s range, but you can also set a specific measurement to start and stop the Session if there’s always an object or service in the sensor’s range.
For this example, the object will always be larger than a 10th of an inch, so I’ll enter that.
Now we go back to the measurement screen.
Hitting start no longer shows a measurement. It simply states that it is ready for a Session.
Let’s try putting the gauge block back.
When the Session is in process, the Touch Panel will say “measuring.”
Now let’s remove the block.
Here we get four values: the minimum, the maximum, the mode, and the average.
The maximum is a little high because sliding the block introduced errors.
The mode is the most common value in a set, and that is spot on.
A very common application is measuring the diameter of an object.
In this next example, I’m going to use a common cylindrical AA battery.
I should be able to roll this battery under the sensor and the maximum should be the diameter.
The battery is probably not perfectly cylindrical, so for this example I’m going to measure it a few times.
Now I’ll measure the battery with a caliper a few times.
Our measurement comes across just right.
One other thing to mention is that you can not only use Sessions for a single sensor, but also a pair of sensors in thickness mode.
Sessions is just the latest in a line of upgrades to our touch panel display. We hope you’ll find it useful. If you have any measurement challenges that your team is facing, please contact our team at Acuity Laser.

Sarah has been our technical support and sales engineer for 5+ years. If you've ever reached out to Acuity Laser for tech support, more than likely, Sarah is the one who helped you.